

这是我参与「第五届青训营」伴学笔记创作活动的第 10 天
前言
原子化css体验
本篇介绍一下如何配置UnoCSS、UnoCSS怎么使用
安装
先创建一个vite模板 https://cn.vitejs.dev/guide/#scaffolding-your-first-vite-project
这里使用pnpm
pnpm create vite

选择vue、typescript
cd vite-project
pnpm install
pnpm run dev
运行一下
初始化成功了,接下来安装unocss https://github.com/unocss/unocss/tree/main/packages/vite
使用文档给的vite安装方式
pnpm i -D unocss
在vite config里写上
// vite.config.ts
import UnoCSS from 'unocss/vite'

export default {
  plugins: [
    UnoCSS({ /* options */ }),
  ],
}
配置完全的vite config是这样的
// vite.config.ts
import { defineConfig } from 'vite'
import vue from '@vitejs/plugin-vue'
import UnoCSS from 'unocss/vite'
import { presetUno } from 'unocss'

// https://vitejs.dev/config/
export default defineConfig({
  plugins: [
    vue(),
    UnoCSS({
      presets: [
        presetUno(),
      ],
    }),
  ],
})
然后在main.ts里加入
// main.ts
import 'uno.css'
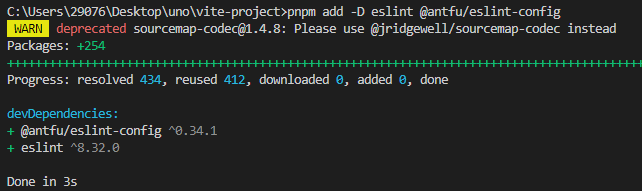
这里没有eslint还是很不舒服的,推荐一个antfu的eslint配置,来安装一下eslint
https://github.com/antfu/eslint-config
pnpm add -D eslint @antfu/eslint-config
创建.eslintrc写入
{
  "extends": "@antfu"
}
在package json里加入
{
  "scripts": {
    "lint": "eslint .",
    "lint:fix": "eslint . --fix"
  }
}
如果你使用的是VSCode 下载 VS Code ESLint extension 然后编辑 .vscode/settings.json
{
  "prettier.enable": false,
  "editor.formatOnSave": false,
  "editor.codeActionsOnSave": {
    "source.fixAll.eslint": true
  }
}
之后重启vscode
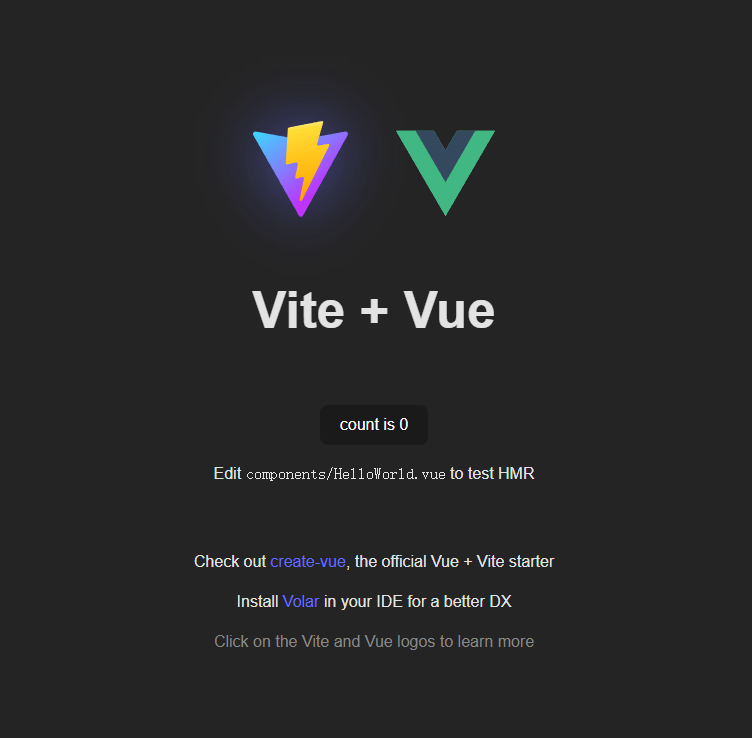
安装完成😎
使用
我们来写一个小demo
就把原本的默认界面改成unocss好了
先看app.vue
<script setup lang="ts">
import HelloWorld from './components/HelloWorld.vue'
</script>

<template>
  <div>
    <a href="https://vitejs.dev" target="_blank">
      <img src="/vite.svg" class="logo" alt="Vite logo">
    </a>
    <a href="https://vuejs.org/" target="_blank">
      <img src="./assets/vue.svg" class="logo vue" alt="Vue logo">
    </a>
  </div>
  <HelloWorld msg="Vite + Vue" />
</template>

<style scoped>
.logo {
  height: 6em;
  padding: 1.5em;
  will-change: filter;
}
.logo:hover {
  filter: drop-shadow(0 0 2em #646cffaa);
}
.logo.vue:hover {
  filter: drop-shadow(0 0 2em #42b883aa);
}
</style>
改成原子化css的形式
这里最好先配置一下vite config 多加一点预设
// vite.config.ts
import { defineConfig } from 'vite'
import vue from '@vitejs/plugin-vue'
import UnoCSS from 'unocss/vite'
import { presetAttributify, presetIcons, presetTypography, presetUno, presetWebFonts, transformerDirectives, transformerVariantGroup } from 'unocss'

// https://vitejs.dev/config/
export default defineConfig({
  plugins: [
    vue(),
    UnoCSS(
      {
        presets: [
          presetUno(),
          presetAttributify(),
          presetIcons({
            scale: 1.2,
          }),
          presetTypography(),
          presetWebFonts({
            fonts: {
              sans: 'DM Sans',
              serif: 'DM Serif Display',
              mono: 'DM Mono',
            },
          }),
        ],
        transformers: [
          transformerDirectives(),
          transformerVariantGroup(),
        ],
      },
    ),
  ],
})
我们先用@apply将css改一下 <style scoped>
.logo {
  height: 6em;
  padding: 1.5em;
  will-change: filter;
}
.logo:hover {
  filter: drop-shadow(0 0 2em #646cffaa);
}
.logo.vue:hover {
  filter: drop-shadow(0 0 2em #42b883aa);
}
这里不会的语法可以看tailwindcss文档
改成
.logo {
  @apply h-6em p-1.5em
}
.logo {
  @apply hover:drop-shadow-[0_0_2em_#646cffaa]
}
.logo.vue {
  @apply hover:drop-shadow-[0_0_2em_#42b883aa]
}
怎么样?是不是感觉很清晰明了
这是在tailwindcss里很受欢迎的@apply命令 通过预设导入了unocss
但是这样体现不出原子化css的方便,虽然非常好看
我们把css写入html
<script setup lang="ts">
import HelloWorld from './components/HelloWorld.vue'
</script>

<template>
  <div>
    <a href="https://vitejs.dev" target="_blank">
      <img src="/vite.svg" class="h-6em p-1.5em hover:drop-shadow-[0_0_2em_#646cffaa]" alt="Vite logo">
    </a>
    <a href="https://vuejs.org/" target="_blank">
      <img src="./assets/vue.svg" class="hover:drop-shadow-[0_0_2em_#42b883aa]" alt="Vue logo">
    </a>
  </div>
  <HelloWorld msg="Vite + Vue" />
</template>

<style scoped>
</style>
这样写就很方便了
再看HelloWorld.vue
<script setup lang="ts">
import { ref } from 'vue'

defineProps<{ msg: string }>()

const count = ref(0)
</script>

<template>
  <h1>{{ msg }}</h1>

  <div class="card">
    <button type="button" @click="count++">count is {{ count }}</button>
    <p>
      Edit
      <code>components/HelloWorld.vue</code> to test HMR
    </p>
  </div>

  <p>
    Check out
    <a href="https://vuejs.org/guide/quick-start.html#local" target="_blank"
      >create-vue</a
    >, the official Vue + Vite starter
  </p>
  <p>
    Install
    <a href="https://github.com/johnsoncodehk/volar" target="_blank">Volar</a>
    in your IDE for a better DX
  </p>
  <p class="read-the-docs">Click on the Vite and Vue logos to learn more</p>
</template>

<style scoped>
.read-the-docs {
  color: #888;
}
</style>
这个改的比较少
<script setup lang="ts">
import { ref } from 'vue'

defineProps<{ msg: string }>()

const count = ref(0)
</script>

<template>
  <h1>{{ msg }}</h1>

  <div class="card">
    <button type="button" @click="count++">
      count is {{ count }}
    </button>
    <p>
      Edit
      <code>components/HelloWorld.vue</code> to test HMR
    </p>
  </div>

  <p>
    Check out
    <a href="https://vuejs.org/guide/quick-start.html#local" target="_blank">create-vue</a>, the official Vue + Vite starter
  </p>
  <p>
    Install
    <a href="https://github.com/johnsoncodehk/volar" target="_blank">Volar</a>
    in your IDE for a better DX
  </p>
  <p class="text-[#888]">
    Click on the Vite and Vue logos to learn more
  </p>
</template>

<style>
</style>
改成这样就行
再看style.css文件 内容比较多
:root {
  font-family: Inter, Avenir, Helvetica, Arial, sans-serif;
  font-size: 16px;
  line-height: 24px;
  font-weight: 400;

  color-scheme: light dark;
  color: rgba(255, 255, 255, 0.87);
  background-color: #242424;

  font-synthesis: none;
  text-rendering: optimizeLegibility;
  -webkit-font-smoothing: antialiased;
  -moz-osx-font-smoothing: grayscale;
  -webkit-text-size-adjust: 100%;
}

a {
  font-weight: 500;
  color: #646cff;
  text-decoration: inherit;
}
a:hover {
  color: #535bf2;
}

body {
  margin: 0;
  display: flex;
  place-items: center;
  min-width: 320px;
  min-height: 100vh;
}

h1 {
  font-size: 3.2em;
  line-height: 1.1;
}

button {
  border-radius: 8px;
  border: 1px solid transparent;
  padding: 0.6em 1.2em;
  font-size: 1em;
  font-weight: 500;
  font-family: inherit;
  background-color: #1a1a1a;
  cursor: pointer;
  transition: border-color 0.25s;
}
button:hover {
  border-color: #646cff;
}
button:focus,
button:focus-visible {
  outline: 4px auto -webkit-focus-ring-color;
}

.card {
  padding: 2em;
}

#app {
  max-width: 1280px;
  margin: 0 auto;
  padding: 2rem;
  text-align: center;
}

@media (prefers-color-scheme: light) {
  :root {
    color: #213547;
    background-color: #ffffff;
  }
  a:hover {
    color: #747bff;
  }
  button {
    background-color: #f9f9f9;
  }
}
一点点儿改
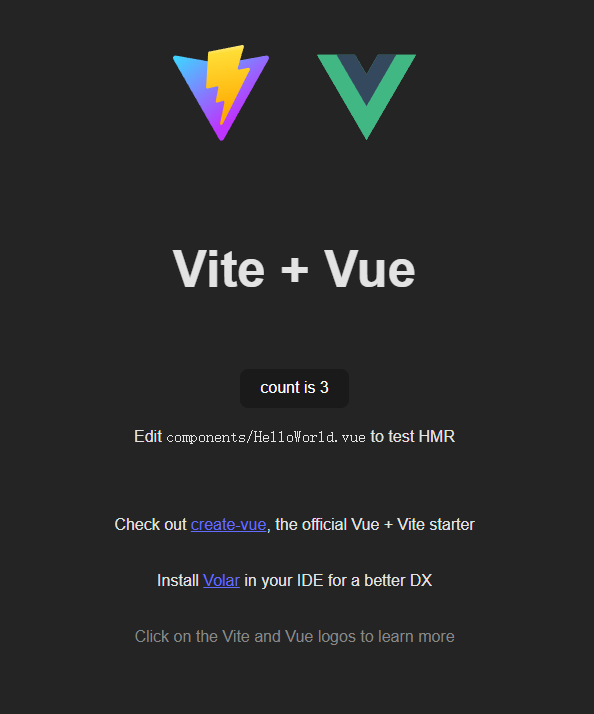
最后改成了这样 还挺还原的是不是
有一些媒体查询不会改
根元素没改
代码如下
// style.css
:root {
  font-family: Inter, Avenir, Helvetica, Arial, sans-serif;
  font-size: 16px;
  line-height: 24px;
  font-weight: 400;

  color-scheme: light dark;
  color: rgba(255, 255, 255, 0.87);
  background-color: #242424;

  font-synthesis: none;
  text-rendering: optimizeLegibility;
  -webkit-font-smoothing: antialiased;
  -moz-osx-font-smoothing: grayscale;
  -webkit-text-size-adjust: 100%;
}


@media (prefers-color-scheme: light) {
  :root {
    color: #213547;
    background-color: #ffffff;
  }
  a:hover {
    color: #747bff;
  }
  button {
    background-color: #f9f9f9;
  }
}
// HelloWorld.vue
<script setup lang="ts">
import { ref } from 'vue'

defineProps<{ msg: string }>()

const count = ref(0)
</script>

<template>
  <h1 class="text-3.2em leading-tight">
    {{ msg }}
  </h1>

  <div class="p-2em flex flex-col place-items-center">
    <button
      type="button" class="
      rounded-8px border-1px border-solid border-transparent
      py-0.6em px-1.2em text-1em font-medium
      bg-[#1a1a1a] cursor-pointer transition duration-250
      hover:border-color-[#646cff]
      focus:outline-4 focus:outline-[-webkit-focus-ring-color]
      focus-visible:outline-4 focus-visible:outline-[-webkit-focus-ring-color]
    " @click="count++"
    >
      count is {{ count }}
    </button>
    <p>
      Edit
      <code>components/HelloWorld.vue</code> to test HMR
    </p>
  </div>

  <p>
    Check out
    <a href="https://vuejs.org/guide/quick-start.html#local" target="_blank" class="font-medium color-[#646cff] hover:color-[#535bf2]">create-vue</a>, the official Vue + Vite starter
  </p>
  <p>
    Install
    <a href="https://github.com/johnsoncodehk/volar" target="_blank" class="font-medium color-[#646cff] hover:color-[#535bf2]">Volar</a>
    in your IDE for a better DX
  </p>
  <p class="text-[#888]">
    Click on the Vite and Vue logos to learn more
  </p>
</template>

<style>
</style>
// App.vue
<script setup lang="ts">
import HelloWorld from './components/HelloWorld.vue'
</script>

<template>
  <div class="m-0 flex flex-col place-items-center min-w-320px min-h-100vh">
    <div class="max-w-1280px my-0 mx-auto p-2rem text-center">
      <a href="https://vitejs.dev" target="_blank" class="font-medium color-[#646cff] hover:color-[#535bf2]">
        <img src="/vite.svg" class="h-6em p-1.5em hover:drop-shadow-[0_0_2em_#646cffaa]" alt="Vite logo">
      </a>
      <a href="https://vuejs.org/" target="_blank" class="font-medium color-[#646cff] hover:color-[#535bf2]">
        <img src="./assets/vue.svg" class="h-6em p-1.5em hover:drop-shadow-[0_0_2em_#42b883aa]" alt="Vue logo">
      </a>
    </div>
    <HelloWorld msg="Vite + Vue" />
  </div>
</template>

<style>
</style>
可以看出来虽然写的简单,但是还是比较乱
这样写的好处是,不用想类名,
如果加了@apply会更美观,但是还是要写类名,和普通css的区别就是简单了一些
同时还有一些自带的样式预设
结尾
本篇我们介绍了UnoCSS的特点,UnoCSS的使用,还是改了挺长时间的,主要是不会写语法,要查tailwind文档 https://tailwindcss.com/docs
还有一些好几个值的css 不知道什么意思
outline: green solid 3px;
/* mdn:颜色 | 样式 | 宽度 */
outline: 4px auto -webkit-focus-ring-color;
/* style.css */
关于这种就不知道怎么写
最后只能掰成
focus:outline-4 focus:outline-[-webkit-focus-ring-color]
题外话:
Anthony Fu大佬真的是我目前的偶像,狂热的开源爱好者,人长得又帅,做的东西又好
🤣这是我在掘金搜unocss搜到的一篇文章中的第一句话 文章在这 https://juejin.cn/post/7028841960752283656
antfu大佬确实也是我的偶像

22年秋季 antfu大佬在b站办过几场直播写代码,我基本上是每期必看,这个人非常有意思,有很多新鲜的点子,狠活也多 比如说
https://github.com/antfu/1990-script 这个仓库教你怎么把GitHub历史穿越回1990年🤭
他的每个star比较多的仓库我都体验过,感觉设计灵感真的让人眼前一亮,启发基于社区,创造更快的轮子,更好玩的轮子
https://github.com/antfu/retypewriter 这个是直播写的雏形 让写的代码在vsc里回放,便于理清思路
https://github.com/antfu/vue-minesweeper 这个是首次直播写的扫雷,很清晰的vue代码,看他写真的开窍
https://github.com/antfu/vue-starport 这个也是直播写的雏形,为了使组件有更好的过渡
就说这么多,人也长得帅
🥰😘
参考
https://developer.mozilla.org/zh-CN/docs/Web/CSS
https://www.tailwindcss.cn/docs/functions-and-directives#apply