这是我参与「第五届青训营」伴学笔记创作活动的第 8 天
前言
上一篇笔记介绍了 MonoRepo 的优点和基于 go 语言的 MonoRepo 框架 TurboRepo,这一篇我们详细介绍一下如何配置出一个团队能用的 TurboRepo 库,包括一些 actions 和自动部署预览等。
技术栈
- ⚡️
Nuxt3- SSR 框架 - ✨
Vue3.2- 最新 Vue 更多语法糖 - 💨
Turbo- MonoRepo 框架 - 💎
Strapi- Headless CMS 框架 - 😎
@Nuxt/Image- images 服务端渲染 - 😁
Umami- Better Analytics 访问源分析 - 🃏
Commit Lint- commit 规范检查 - 💖
Husky & Lint Staged— precommit 运行库 - 📏
Eslint- 规范化 TypeScript、JavaScript 代码 - 🐶
UnoCss- 原子化 CSS 引擎、兼容 tailwindcss、windicss - 🤖
preset-icons- unocss 自带 icons - ⏰ The
<script setup>syntax setup 语法糖 来自 Vue3.2 - 🍍
Pinia- 全局状态管理库 更好用 - 🎨
APIs auto importing- 库自动引入 - 🦾
TypeScript- 更规范的语法 - 👷
Github Actions- actions 自动运行、ci / cd 云端检查语法 - 👀
Automatic Branch and Issue Autolink- Issue AutoLink actions 创建 issue 会创建一个分支 - 🗺
Nuxt SEO Kit- SEO 优化 SSR 必备 - 📦
Vercel- 自动部署、预览的平台 - 🔥
Netlify + Cloudflare- 部署平台
前端模板
前端模板选择了 https://github.com/antfu/vitesse-nuxt3
是 antfu 的 vitesse 系列模板的 nuxt3 款
这套模板用了好多个 很好用的
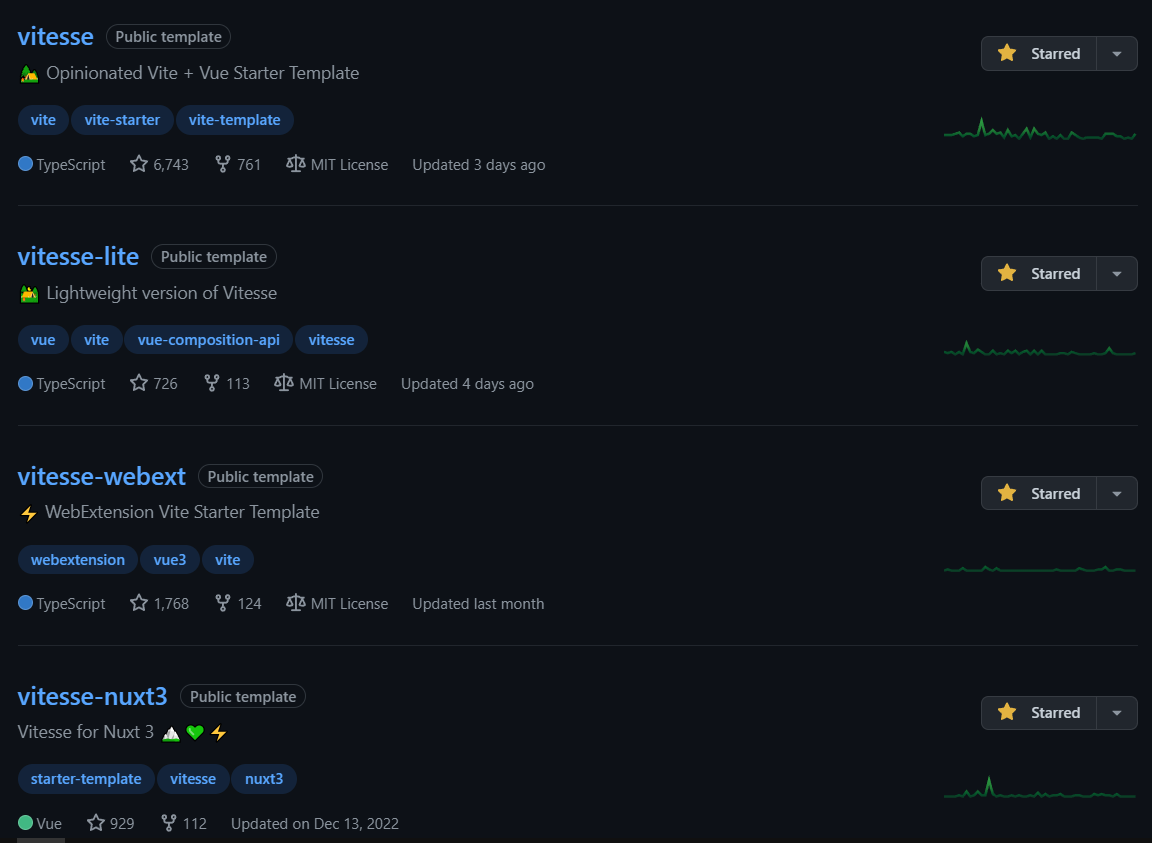
配置很全、自带的 unocss 也是几乎兼容 windicss 和 tailwind 很适应
想用 icons 可以去 antfu 的另一个项目里找
https://icones.js.org/ 这里二次封装了几万个 icons 用个爽
配置 turbo
turbo 官网有讲怎么配置到一个已有的 MonoRepo 里 https://turbo.build/repo/docs/getting-started/existing-monorepo
这里只需要在根目录的 package.json 里建立 workspaces 字段 和 packageManager 字段
//package.json
{
"packageManager": "yarn@1.22.19",
  "workspaces": [
    "frontend",
    "backend"
  ],
}安装 TurboRepo
yarn global add turbo创建任务管道
在 package.json 的 turbo 中,将想要 "turbo" 的命令添加到管道中 管道定义了 npm 包中 scripts 的依赖关系,并且为这些命令开启了缓存。这些命令的依赖关系和缓存设置会应用到 MonoRepo 中的各个包中
//turbo.json
{
  "$schema": "https://turbo.build/schema.json",
  "pipeline": {
    "build": {
      // A package's `build` script depends on that package's
      // dependencies and devDependencies
      // `build` tasks  being completed first
      // (the `^` symbol signifies `upstream`).
      "dependsOn": ["^build"],
      // note: output globs are relative to each package's `package.json`
      // (and not the monorepo root)
      "outputs": [".next/**"]
    },
    "test": {
      // A package's `test` script depends on that package's
      // own `build` script being completed first.
      "dependsOn": ["build"],
      // A package's `test` script should only be rerun when
      // either a `.tsx` or `.ts` file has changed in `src` or `test` folders.
      "inputs": ["src/**/*.tsx", "src/**/*.ts", "test/**/*.ts", "test/**/*.tsx"]
    },
    // A package's `lint` script has no dependencies and
    // can be run whenever. It also has no filesystem outputs.
    "lint": {},
    "deploy": {
      // A package's `deploy` script depends on the `build`,
      // `test`, and `lint` scripts of the same package
      // being completed. It also has no filesystem outputs.
      "dependsOn": ["build", "test", "lint"]
    }
  }
}上面的示例中, build 和 test 这两个任务具有依赖性,必须要等他们的依赖项对应的任务完成后才能执行,所以这里用 ^ 来表示。 对于每个包中 package.json 中的 script 命令,如果没有配置覆盖项,那么 TurboRepo 将缓存默认输出到 dist/** 和 build/** 文件夹中。
运行
这样只需要运行
npx turbo run build test lint deploy就可以运行全部参数
配置 .gitignore
根目录 创建 .gitignore 文件
+ .turbo
+ build/**
+ dist/**
+ .next/**Remote cache
turbo loginturbo link然后删除你的 ./node_modules/.cache/turbo 文件夹
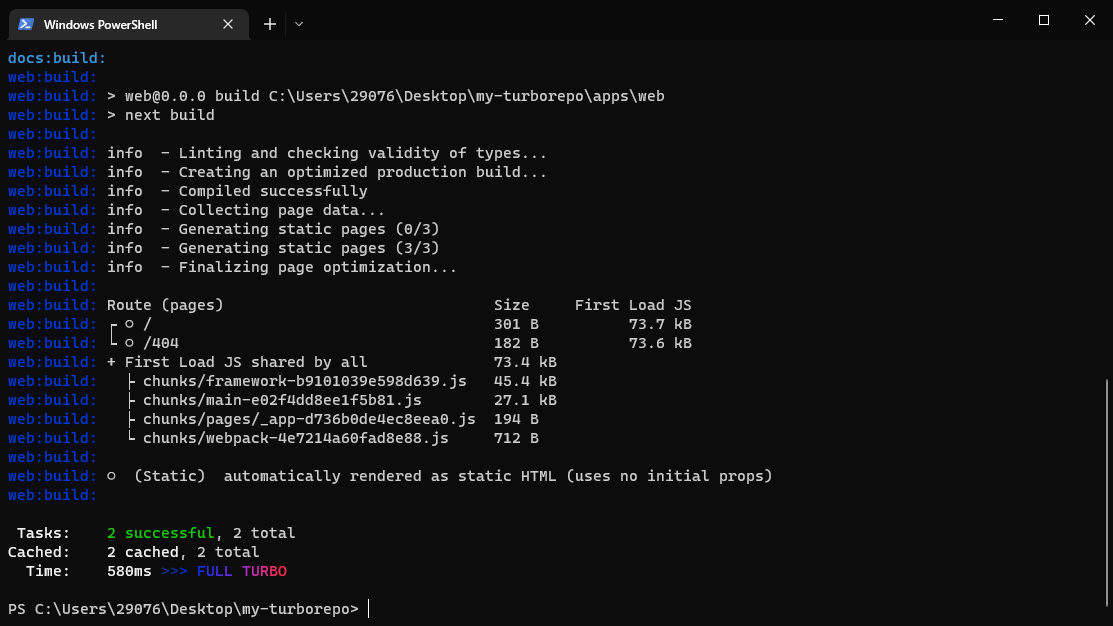
显示 full turbo 则证明匹配到了云端的缓存,直接拉下来不再构建一遍
配置 husky
在根目录安装 husky
先运行 husky install
然后创建 .husky 文件夹
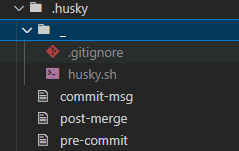
文件树如上
配置文件
//.gitignore
*# husky.sh
#!/usr/bin/env sh
if [ -z "$husky_skip_init" ]; then
debug () {
if [ "$HUSKY_DEBUG" = "1" ]; then
echo "husky (debug) - $1"
fi
}
readonly hook_name="$(basename -- "$0")"
debug "starting $hook_name..."
if [ "$HUSKY" = "0" ]; then
debug "HUSKY env variable is set to 0, skipping hook"
exit 0
fi
if [ -f ~/.huskyrc ]; then
debug "sourcing ~/.huskyrc"
. ~/.huskyrc
fi
readonly husky_skip_init=1
export husky_skip_init
sh -e "$0" "$@"
exitCode="$?"
if [ $exitCode != 0 ]; then
echo "husky - $hook_name hook exited with code $exitCode (error)"
fi
if [ $exitCode = 127 ]; then
echo "husky - command not found in PATH=$PATH"
fi
exit $exitCode
fi//commit-msg
#!/bin/sh
. "$(dirname "$0")/_/husky.sh"
npx --no-install commitlint --edit "$1"//post-merge
#!/bin/sh
. "$(dirname "$0")/_/husky.sh"
yarn install//pre-commit
#!/bin/sh
. "$(dirname "$0")/_/husky.sh"
yarn lint-staged安装 commit lint
yarn install -D @commitlint/config-conventional @commitlint/cli这个可以在 MonoRepo 内安装不在根目录装
在前端的 package.json 里配置
//./frontend/package.json
{
  "name": "frontend",
  "version": "1.0.0",
  "private": true,
  "scripts": {
    "build": "nuxi build",
    "dev": "nuxi dev",
    "start": "node .output/server/index.mjs",
    "lint": "eslint .",
    "lint:fix": "eslint . --fix",
    "generate": "nuxi generate",
    "typecheck": "tsc --noEmit --incremental false",
    "lint:strict": "eslint --max-warnings=0 ."
  },
  "lint-staged": {
    "**/*.{js,ts,vue,html}": [
      "eslint --max-warnings=0"
    ]
  }
}最后在根目录创建 commitlint.config.js
里面写上 commit lint 规则
//commitlint.config.js
module.exports = {
  extends: ['@commitlint/config-conventional'],
  rules: {
    'type-enum': [
      2,
      'always',
      [
        'feat',
        'fix',
        'docs',
        'chore',
        'style',
        'refactor',
        'ci',
        'test',
        'revert',
        'perf',
        'build',
        'vercel',
      ],
    ],
  },
}配置 .gitignore
node_modules
*.log
dist
.output
.nuxt
.env
.turbo

# Logs
logs
*.log
npm-debug.log*
yarn-debug.log*
yarn-error.log*
lerna-debug.log*

# Diagnostic reports (https://nodejs.org/api/report.html)
report.[0-9]*.[0-9]*.[0-9]*.[0-9]*.json

# Runtime data
pids
*.pid
*.seed
*.pid.lock

# Directory for instrumented libs generated by jscoverage/JSCover
lib-cov

# Coverage directory used by tools like istanbul
coverage
*.lcov

# nyc test coverage
.nyc_output

# Grunt intermediate storage (https://gruntjs.com/creating-plugins#storing-task-files)
.grunt

# Bower dependency directory (https://bower.io/)
bower_components

# node-waf configuration
.lock-wscript

# Compiled binary addons (https://nodejs.org/api/addons.html)
build/Release

# Dependency directories
node_modules/
jspm_packages/

# TypeScript v1 declaration files
typings/

# TypeScript cache
*.tsbuildinfo

# Optional npm cache directory
.npm

# Optional eslint cache
.eslintcache

# Microbundle cache
.rpt2_cache/
.rts2_cache_cjs/
.rts2_cache_es/
.rts2_cache_umd/

# Optional REPL history
.node_repl_history

# Output of 'npm pack'
*.tgz

# Yarn Integrity file
.yarn-integrity

# dotenv environment variables file
.env
.env.test

# parcel-bundler cache (https://parceljs.org/)
.cache

# Next.js build output
.next

# Nuxt.js build / generate output
.nuxt
dist

# Gatsby files
.cache/
# Comment in the public line in if your project uses Gatsby and *not* Next.js
# https://nextjs.org/blog/next-9-1#public-directory-support
# public

# vuepress build output
.vuepress/dist

# Serverless directories
.serverless/

# FuseBox cache
.fusebox/

# DynamoDB Local files
.dynamodb/

# TernJS port file
.tern-port
.vercel
frontend/.env配置 vercel
创建 vercel.json
由于是 nuxt3 项目 vercel 有预设 只需要配置一个字段
{
  "framework": "nuxtjs"
}然后是登录 vercel 把项目绑定上去
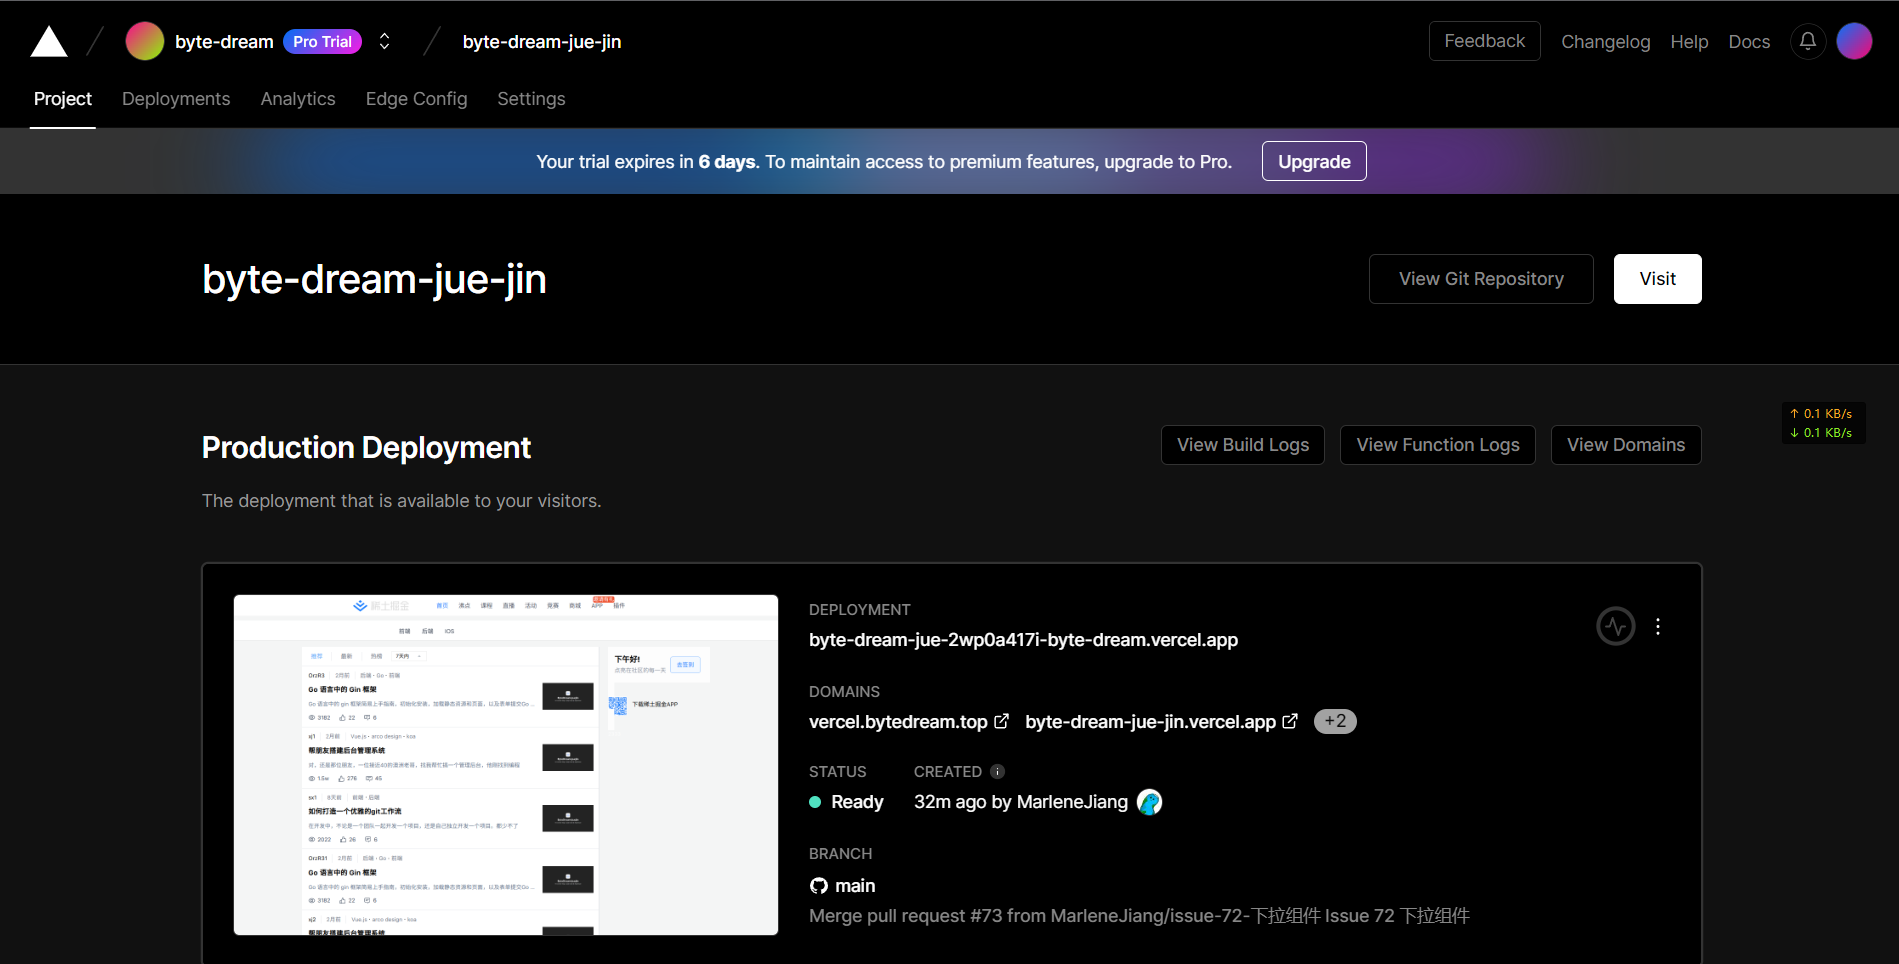
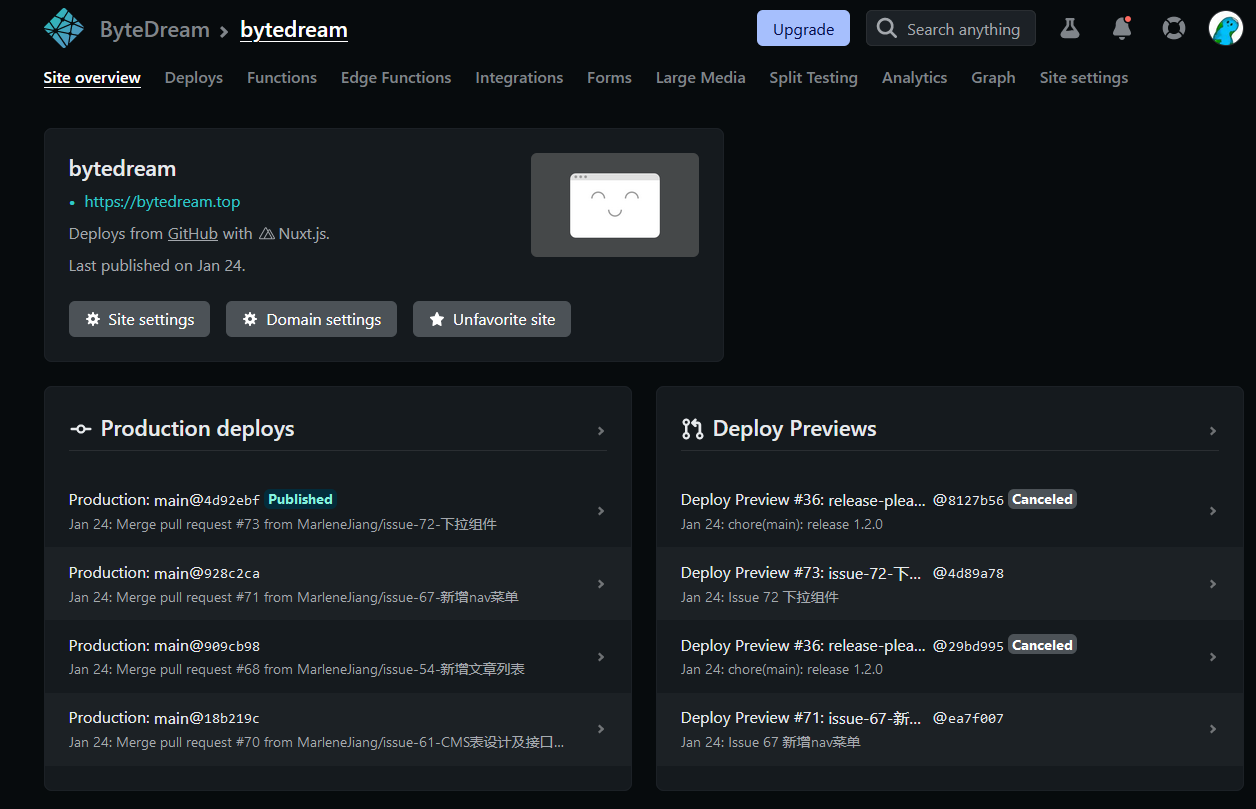
配置好团队是这样的
配置 netlify
创建 netlify.toml
[build.environment]
  NODE_VERSION = "16"

[build]
  publish = "dist"
  command = "yarn build"
  functions = "netlify/functions"

[[redirects]]
  from = "/*"
  to = "/index.html"
status = 200默认配置为如上
然后是登录 netlify 把项目绑定上去
配好了是这样的
配置 workflows
配置一个 actions 用来在线 lint 有错会 xx
# lint.yaml
# https://github.com/kentcdodds/kentcdodds.com/blob/main/.github/workflows/deployment.yml
name: Code Check
on:
  push:
    branches:
      - main
  pull_request: {}

jobs:
  lint:
    name: ⬣ ESLint
    runs-on: ubuntu-latest
    steps:
      - name: 🛑 Cancel Previous Runs
        uses: styfle/cancel-workflow-action@0.9.1

      - name: ⬇️ Checkout repo
        uses: actions/checkout@v2

      - name: ⎔ Setup node
        uses: actions/setup-node@v2
        with:
          node-version: 16

      - name: 📥 Download deps
        uses: bahmutov/npm-install@v1

      - name: 🔬 Lint
run: npx turbo lint:strict配置一个 release bot 用来生成打包文件 区分版本号
# release.yaml
name: release-please
on:
  # workflow_dispatch:
  push:
    branches:
      - main
jobs:
  release-please:
    runs-on: ubuntu-latest
    steps:
      - uses: google-github-actions/release-please-action@v3
        with:
          release-type: node
package-name: release-please-action配置 issue bot 用来自动用 issue 创建分支
# issue.yaml
name: "Issue Autolink"
on:
  pull_request:
    types: [opened]

jobs:
  issue-links:
    runs-on: ubuntu-latest
    steps:
      - uses: tkt-actions/add-issue-links@v1.6.0
        with:
          repo-token: "${{ secrets.AUTO_LINK }}"
          branch-prefix: "i"
resolve: "true"结尾
到此应该初始化的差不多了
这个从创建 debug 到上线的时间大概花了两天 问题出在 vercel 和 netlify 上
vercel 对 nuxt 的兼容性不好,不如他的亲儿子 next
刚去查了一下 nuxt3 在 1 月 23 日变成了默认版本

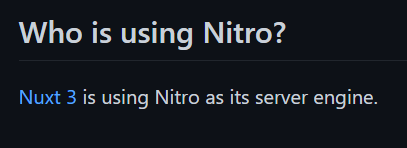
nuxt3 用了一个叫 nitro 的编译框架 https://github.com/unjs/nitro
构建和部署通用JavaScript服务器
Nitro提供了一个强大的工具链和一个来自unjs生态系统的运行时框架,可以随时随地构建和部署任何JavaScript服务器!
unjs 我感觉是写 js 魔法的组织 里面全是魔法库

这位是主谋
这个框架会自动检测你当前的环境 给你分配一个 preset 比如说你在当前 node 环境 build nuxt 的话会给你生成一个 .mjs 文件 你运行文件就可以启动一个 SSR 服务器
你在 vercel 上运行的话就给你 preset:vercel 生成 vercel 认的文件格式
netlify 同理
问题出在 使用 MonoRepo 后 nitro 不认我这是在 vercel 里了 他会生成默认的 node 的 mjs 文件 然后构建失败
很烦
参考
https://turbo.build/repo/docs/getting-started/existing-monorepo
https://github.com/antfu/vitesse-nuxt3
https://github.com/antfu?tab=repositories&q=vitesse&type=&language=&sort=